Part 14: Update -XII- I summon up the power of the God Hand
Update 12 Highlights - Rainbow Shore
So when we last left off, we were headed straight into the next chapter on the back of an Adamantoise through shark infested waters with a stripper treasure hunter towards a place called Rainbow Shore.
Sure sounds like a magical adventure.

 Hup...
 Hup...
[Adamantoise]: Nonsense. No trouble at all.
Thanks for showing us the way, Rikku!Yeah, how would we ever have found this place without your guidance.
.png) No problem! I needed a little breather anyway.So! Where are you headed from here?Umm...
No problem! I needed a little breather anyway.So! Where are you headed from here?Umm...
[Adamantoise]: Sure. I must head back myself. Not a problem.
Thanks a bunch! Okay then! Back to my regularly scheduled totally awesome treasure hunting!Good luck! And be careful.See ya!
Damn right we will. Also, bye Rikku! Enjoy not being part of the upcoming storm of horror that FFX will one day trigger!
And put on some pants, dammit! Or at the very least swap out that G-string that's riding up your ass.

Anyway, this is certainly a scenic location. Too bad that's only going to last for this single screen. It's deathly mountain passes for the next little while.
There's some treasure to be found tucked away on the right side of that screenshot. You need to turn Jiant to reach it. It has an elixir. Awesome, another EXP boost from Undead Princess should we require it. The thread hasn't really been suggesting names or Mirages though, so maybe I won't need it.
 Right, so... uh, what's next?
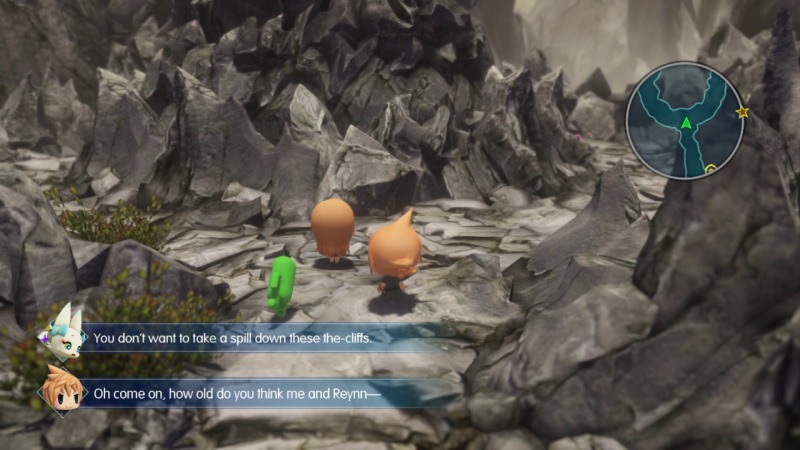
 Well first, why don't we look for a town?
 Be the-careful. Whatever's up ahead, it's causing my Mirage-dar to go the-bonkers.
There is a gate towards the exit of the area, but there's also a Murkrift. This is another new Maxima murkrift. Level 32 is a bit up there, but let's take a crack at it anyway and see what we've got.

Must. Have.
Dramut has a lengthy capture condition, needing to be hit by three different elemental attacks. The timing on this is going to be difficult, because trying to stack the capture chance will likely just result in one wearing off just as you apply the second. Breaking up the stacks isn't a good idea, because--

Dramut packs a good punch at current levels. Reynn's stack resists Blizzard, and even that hit her group for 250. Dramut is also quick, so it will most likely run circles around your group if you split them up.
If your Mirage stacks are missing particular elements, then remember that you have probably picked up attack items that can serve as a substitute. If you don't have any, then Chocolatte sells them.

It takes two battle attempts, but I manage to capture it. The EXP it gives out is actually a little underwhelming considering the level advantage it had over us.
Dramut is a baby version of Bahamut, who we haven't run into yet. Bahamut is a major player in the FF series, but we won't be getting our hands on one for a long long time. The reference to being "Frenemies with Tidus" will likewise have to wait until later.
For now, Dramut hits the Prism Case and we continue on our journey.

From the Rainbow Shore we head straight to The Dragon Scars. This place is going to be a slog. There are a lot of dead-end side paths that lead to items, Flutter points, and fixed encounters.
 Whoa!Hey Lann, slapstick's less funny if you die from it.
I dunno, I think it would still be kind of funny. In a dark way.
Straight ahead from the entrance to this place, there's a fork in the road. The left path is a dead-end that has a treasure chest with 5 frigicite in it (Ice attack item).
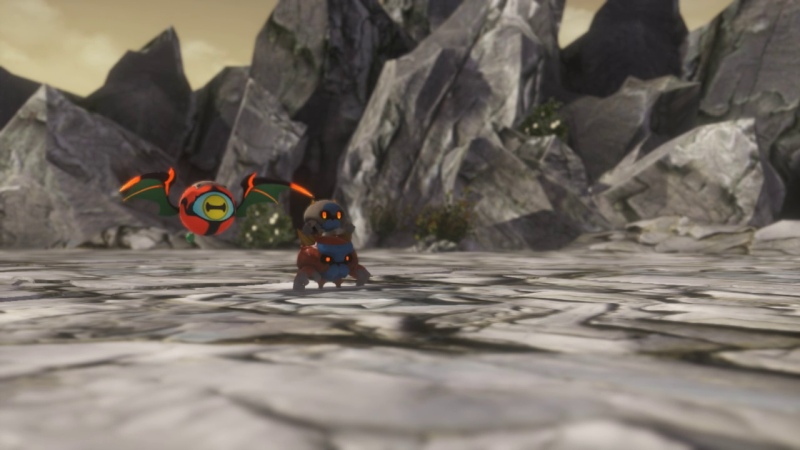
After backtracking to the fork, we get the first encounter and our first new Mirage for this area.

We'll need to take out the Copper Gnome stack first for this one. That's an easy task considering they aren't really much stronger than they were in the Nether Nebula.

Annoyingly, Blood Eyes can inflict Oblivion with their attacks, meaning they can cut off your abilities and Imprism commands. Rememb Herbs can cure this.
After 5 attempts, it finally stays caught.
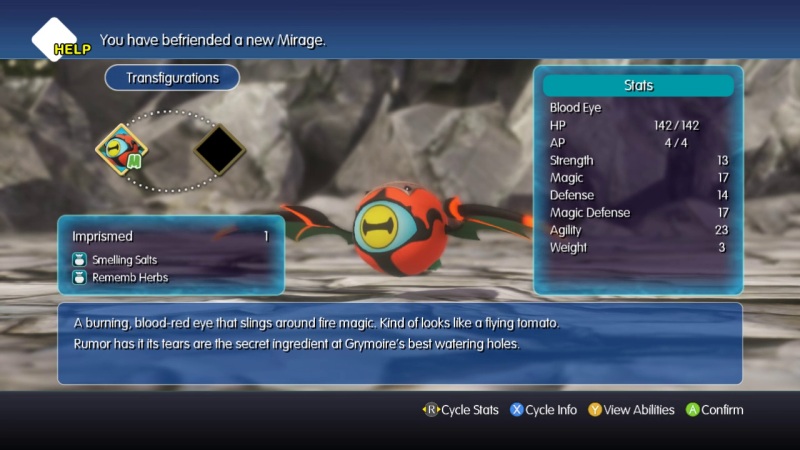
Come on WoFF! Stop mentioning food in these descriptions! I just had dinner and yet this is still making me hungry.

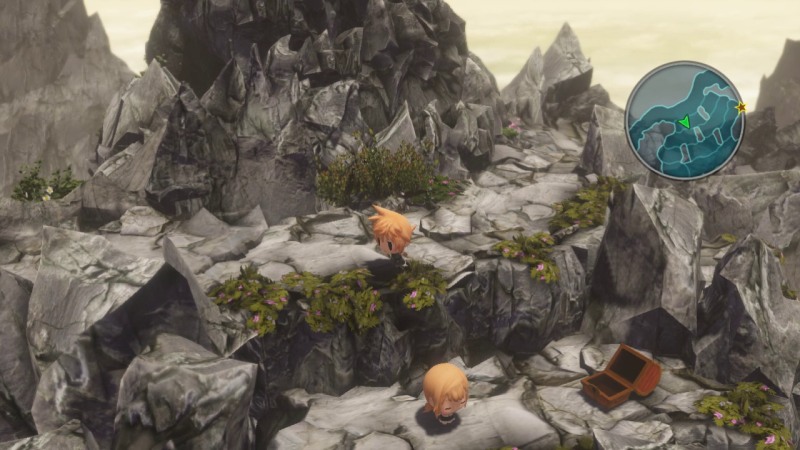
Taking the right path from the fork leads us to this mess of terrain. We can jump off of the ledges that have the plants growing on them. First we jump down to the right.
 Wh-th-whoa!Wow, it's even funnier the second time.
The path on the bottom takes us to the next area, but to snag the treasure chest we need to take the high road and circle back.
When we get to the top of that path, there is another split. The left gets us to the Flutter point, while the right leads into a nest that has a treasure chest sitting in it. It contains 3 hi-potions.

Take the flutter point across the gap and then jump down from the middle ledge. The ledge on the far left will just bring us back to where we started. The small ledge closest to the flutter gap will dump you on the wrong side of the rocks.

Worth it. Curatives are always welcome.
Jump down the only ledge you can, and then we're back on track for progress.

Ugggghhhhh...
Okay, in the next area there is another fork. The left path leads to--

Oh. Hey, new Dragon friend.
You the-need to learn to exploit your Mirages' elemental resistances.You want us to blow them up?Um, that's "explode," and while I'd love to give you credit for the first four letters, you clearly weren't listening.Exploit, explode, it's all the same as far as I'm concerned. Also, this is a really late stage of the game to be just now talking about exploiting weaknesses. You really should have had this conversation back during our fight with Ramuh/Shiva/Ifrit.
I was listening! They're mental resistors.Ugh! That's clearly what you've got.
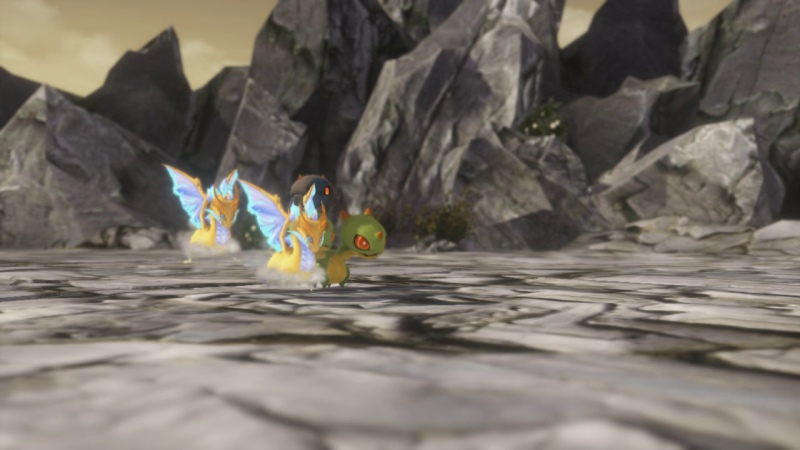
Right, we're getting off track a bit. Heading towards the dragon and fluttering across, the battle will trigger as soon as we approach.
Like with the Holy Dragon, these guys come in pairs. Unlike the Holy Dragon, these won't revive their partner if we knock one out.
Unfortunately, it does have the irritating Critical Hit capture condition.
They also don't have a ton of HP. That makes getting rid of one of them easy, but it makes hitting with a critical harder for the remaining one. Depending on how much RNG hates you, you may have to get one of your Mirages to heal the dragon while the others are swinging away at it.

Not much help I can give you beyond that. If you're lucky enough to have a High Crit ability then good for you! If not, then settle in for what could be a while.
If you accidentally defeat both of them then don't worry about reloading. There are a few more of these fixed encounters around the Dragon Scars, so you'll have other chances.
Behind the dragon we just beat/captured, there is a chest with 3 wobblestoppers in it. Then we back track to that fork in the path and proceed to the right.

There's a cave with a hard to miss chest in it just beyond the fork.

While running along the progress path, I get ambushed by the baby versions of the Dragons.

This capture condition is pretty open-ended. Just make sure you check out the Mirage's ailment resistances before you start chucking items or abilities at them. Spark Dragon here is really susceptible to Confuse and Sleep, while resisting Poison and Slow.

Tricky, but still easy. We now have the Holy, Fire, and baby lightning dragons. Also Dramut I guess. He technically counts as an elemental dragon.

A little further ahead, we come to a bigger ledge jumping area.
Jump down the closest ledge and then down the next ledge from that to reach a chest with ethers in it. You should be in the large middle section now. Run to the right from that chest to the centre of the whole jumping puzzle thing, and then take that ledge down.

Like so. To the far right there is another chest, this one containing 2 remedies. That's it for the treasure chests here, so there's no need to run back to the top and jump down the other ledge paths.

When we try to progress through the dungeon, the twins decide that now is a good time to continue that conversation from earlier.
Would you stop?Aww...Right, where the-was I... Oh! You may have noticed the Mirages here like to the-fight with fire.
I got bored during this conversation and started popping Lann and Reynn between their Lilikin and Jiant forms.

Moving on, another fork. Left will once again take us to a flutter point. There's a chest here with a Cure seed in it.
Back to the fork and to the right, we can move on to the next section of dungeon.
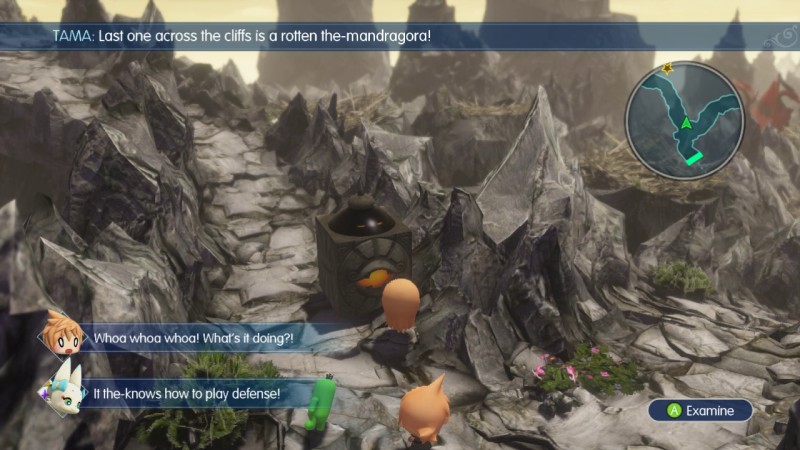
I hadn't triggered this reaction yet because I never tried moving around the Gimme Golems until now. If you try and walk around a Gimme Golem on a wide path, they'll shift to block you. Little bastards.
I guess we'll have to give it what it wants...
So we have to go to the right and track down whatever the hell it is that the Gimme Golem wants. Of course, the area we have to search is huge.
Sure! Basically, we need to imprism as many of the Mirages around here as we can.Wha?!Whoa!Wh... what?You're the-right!Somehow you understood what to do even if you didn't understand the whys.Ha ha ha! I'm a man of action! I don't believe in "whys"!That much is the-obvious.No one in her right mind would put "Lann" and "wise" in the same sentence.You and Tama aren't exactly doing too hot either, Reynn. I can't believe you are only having the elemental resistances discussion now.
Anyway, take the first south path to a flutter point and cross it to get to a chest with a remedy. Head back and proceed right.

So many side paths. The item we need for the Gimme Golem is in the next area so we could just head straight for it, but we may as well go and grab some of the treasure laying around along the way.

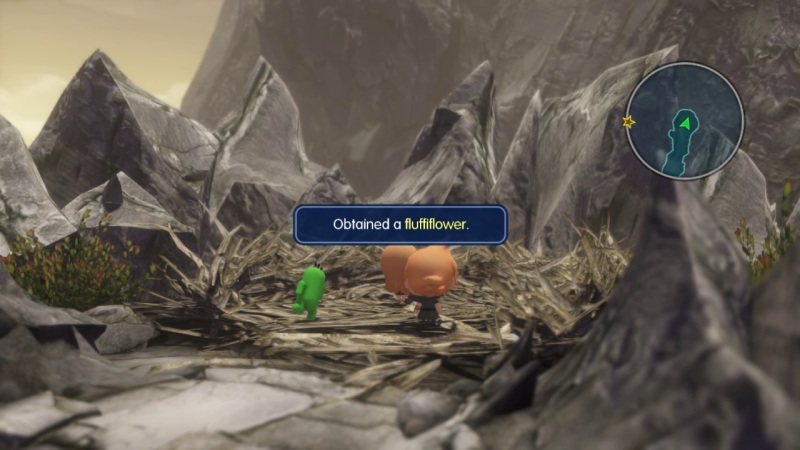
We go up the dead-end path and fight this dragon. After beating it, Cactuar discovers some phoenix down for us in the nest. Good job Cactuar.

Then we go to the second flutter gap, which is next to the path we need to take to the next area. There is a chest here with 2 hi-potions.
Another new Mirage, except not quite. This is a variant of the Doublizard we already have. Still, not going to skip capturing it. Need to knock down that stack and take out the Spark Dragons first though.
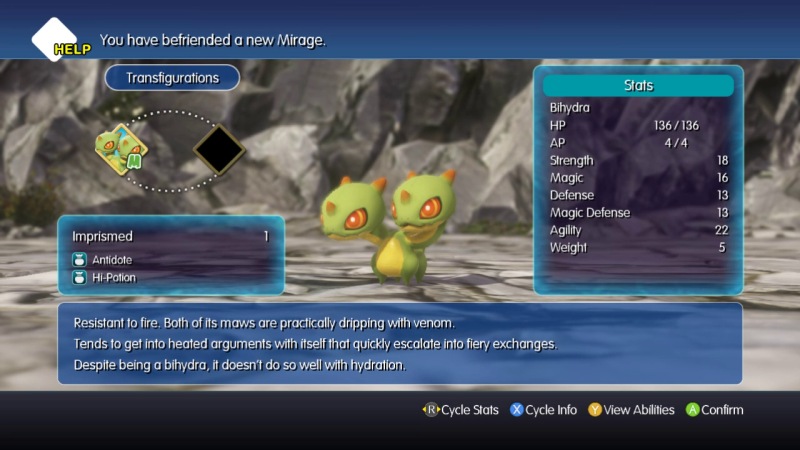
Leaving it as the last one standing will give us a capture chance. Another Mirage for the case.
The semi-circle path that loops around the dead-end path in the middle only has one chest on it with 4 dragon scales, so it's probably a good idea to just grab it on the way back to the Gimme Golem.

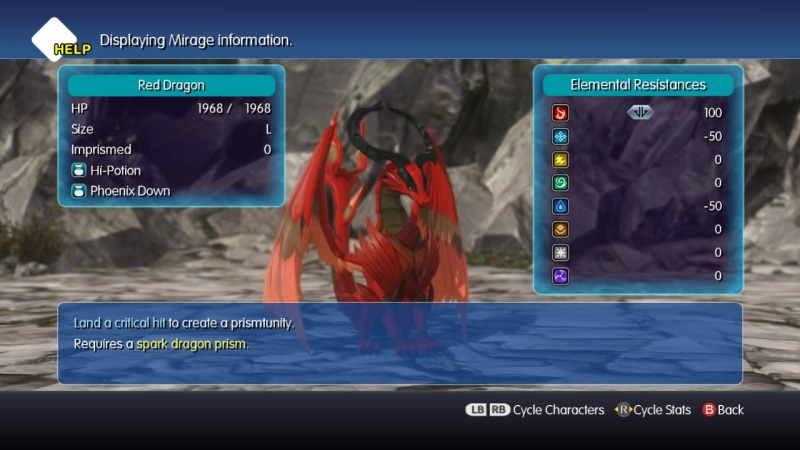
The path were supposed to take into the next area is guarded by another Red Dragon. This one isn't optional, you'll have to fight it. The battle is against three of them this time.

After beating these guys, I stopped short of the next area as inspiration struck. The thread hasn't been suggesting any names since the first time I mentioned it, so I decided to call dibs on Cactuar and rename him M.C.Hammer.


Another tutorial card greets us as we enter the next section. This is kind of a weird spot for it considering that this is not a secret area, but I suppose sticking this card in a secret area would kind of defeat the purpose of a tutorial on finding secret areas.
Continuing on, we still need that item for the Gimme Golem, so hopefully we can find it--

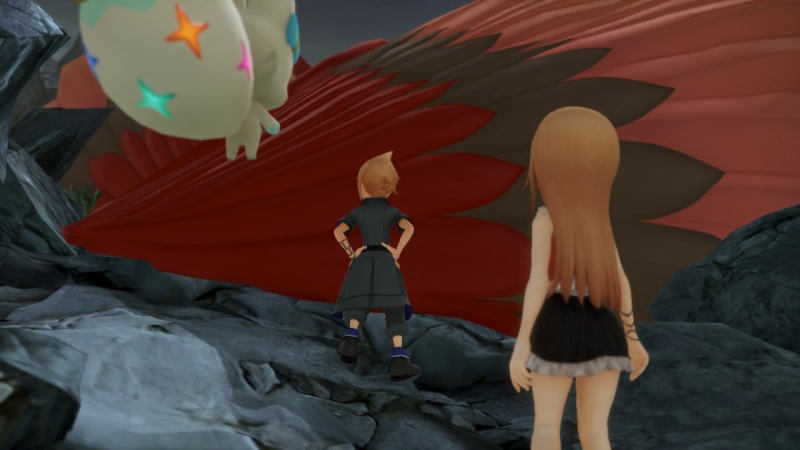
 ...You're a big one, aren't you?
Well, no choice here. That thing has to be protecting the Gimme Golem item, so this fight needs to happen.
Update 12 Highlights - Cerberus Battle and Capture

Like Dramut, we need to hit this one with three different elements. Fire, Ice, and Thunder.
You could also just fight it if you didn't feel like bothering to catch it. 13,000 HP looks like a lot, but this guy is actually pretty weak. Reynn's stack dealt 700 damage to it with a Fire spell (which Cerberus resists).
In terms of offence, Cerberus' basic physical attack only managed about 200 damage. It's kind of a paper tiger, which I guess is understandable since it is a story-mandated fight with no save points nearby.

It takes forever for me to capture it (I had to reapply the three elemental spells 3 times because the capture chance kept wearing off while he broke out). 25k EXP is a good haul though.

Cerberus is a semi-regular enemy in the FF series. It first appears as a boss in FFIII and looks like the Cerberus from mythology, that is, a three-headed dog. There's an enemy in the first Final Fantasy called Hellhound which was named Cerberus in the NES version, but it doesn't have the three-headed appearance the mythological Cerberus is known for.
The Mr. Valentine reference refers to Vincent Valentine from FFVII. His gun in Dirge of Cerberus is called Cerberus which he... forget it. That's part of the EU rabbit hole that we'll be forced to go down at some point in the near future. Vincent isn't in this game, so this isn't the right time to open that can of worms.
As for why this mirage is XL sized, we're obviously going to get a tutorial for it, so let's just get on with the show.

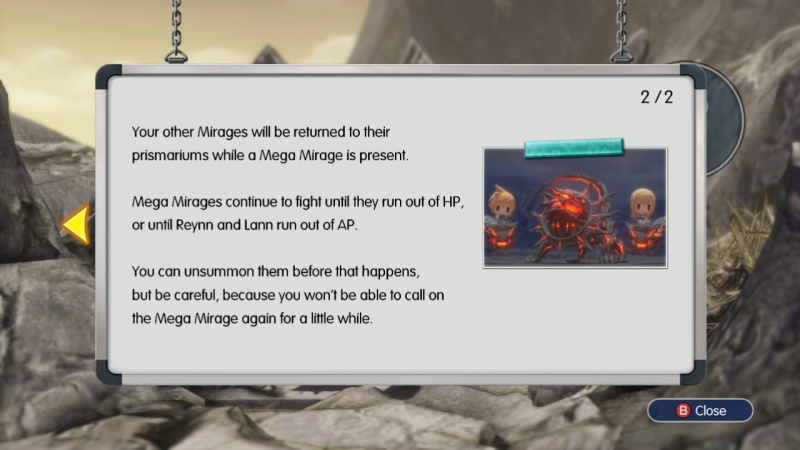
So there will be some Mirages that are special summons we can call upon. Be aware that you will still need to level them up like regular Mirages though. If we summoned the Cerberus we just caught right now, it would be weak as shit since it's still level 1.
It's up to you if you want to put the effort into these guys or not. I think they are pretty cool, but I also don't recall using XL Mirages during my Vita play through. They need solid levelling in order to be stronger than just using your existing stacks and they tend to be less versatile. That being said, they can serve as useful damage sponges in case you need to buy some time against a boss, or you can summon them at the start of a fight to get some early shots in before your main stacks come in.
I will keep at least one XL Mirage on the team at all times even if you guys don't request one or don't name one. I'll look for opportunities to show off their summon sequences when I can.
We get a Cerberus memento from the fight as well, which means we can turn Black Nakk into a White Nakk and then into Fenrir before finally turning it into Cerberus. This is probably the better way to go rather than use the one we just caught. Black Nakk already has a lot of stat boosts under its belt.
The item for the Gimme Golem also lies behind Cerberus. Sweet, let's get back to that roadblock and clear it.

Okay, let's get rolling and--

Oh come on. Again?
Fine. Jump down that ledge and get that chest that's visible in the screenshot. It has 2 wobblestoppers. Next, jump down the small ledge that's behind the chest we just opened.

Next, take the ledge on the left of the chest shown above. That leads to another chest with a Fire Resistance+ seed.
With all the treasures picked up, we now need to head right and circle back to the top of the cliff where we first started.
Back at the top, take the same ledge down that we did before. However, instead of taking the small ledge to the right, take the ledge to the left. Then take the left ledge again from there.

That leads us to the next area with even more side paths and flutter points. The chest off to the right contains a hi-potion.

Back on the main path, we start climbing uphill and eventually spot a save point. Thank god. Make sure to take advantage of this, because there's something fishy just around the corner.
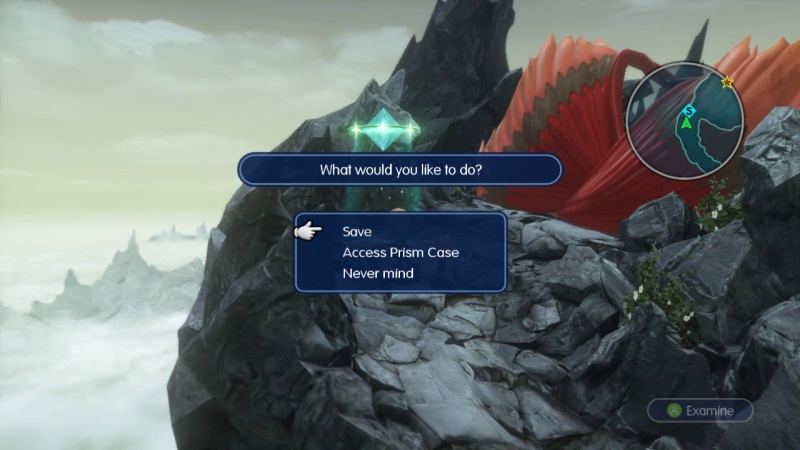
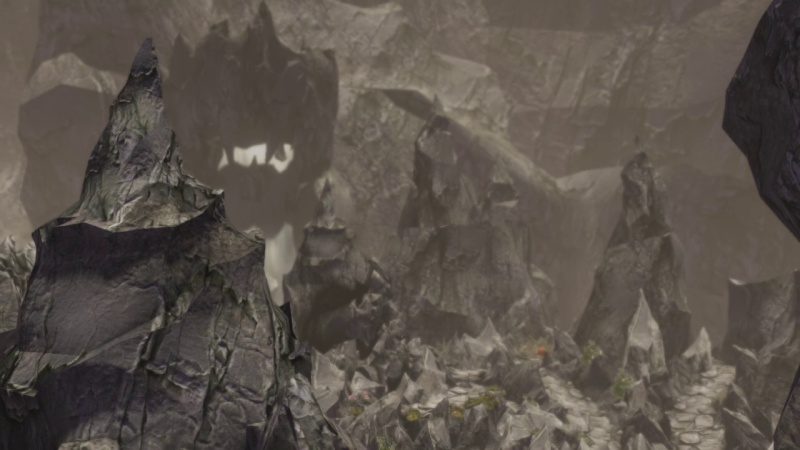
Namely that thing.
Update 12 Highlights - Boss Battle and Scenes


Lann, do your ears work? You should have been able to hear that thing the second it started to move. It's huge.
Also, you might want to duck.
Lann! Shrink, now!

"Holy mom bombs"? That's a new one.
Get ready! Yeah! We all taste bad! But especially Lann!He'll make you the-want to barf!You don't have to be mean about it!
Mega Red Dragon is just a boss version of the ones we've been fighting throughout the Dragon Scars. It has more HP, but there isn't much else to say about it.
It resists all ailments except for Blind. So if you are having a hard time with its damage output, then you can try to blind it and make it miss more often.
It's regular attacks are hitting for about 260 in this fight. Obviously that's going to vary based on stack composition and levels.

It has a special attack called Gnaw, but it missed when it tried to hit Reynn. The other special attack is Flare Star+ which causes some fairly decent damage to all targets.
It also has Fira, which hit Reynn's stack for about 300. Overall, Flare Star+ is what you want to watch out for. Outside of that, this is a 2 on 1 fight, which means all you really need to do is make sure one of your stacks is on healing duty when necessary.
 Yay for miracles.
Come on, that wasn't that hard. Wimps.
Now's our chance to run the-past them!Yeah, good i--Eep!
Yes Tama, yes it is. How it managed to sneak up on you is anyone's guess, but it's there now.


Why does everyone keep kill-stealing? I need that EXP for Mirage transfigs and SP. Tama could have totally survived that without intervention... probably.


Tifa is voice by Rachael Leigh Cook in English, Ayumi Ito in Japanese. Like the weirdness with Rikku, in World of Final Fantasy Tifa is dressed in an outfit from a different time than her age. She's wearing the "cowgirl" outfit from the Nibelheim incident, at which point she was 15 years old. However, her age in Grymoire is 20, which is how old she is at the start of FFVII.

Tifa "Neo" Lockhart comes from FFVII, where she manages to dodge enough fatal bullets to make Morpheus proud. I think she escapes death about 8 or 9 times over the course of Final Fantasy VII, and I don't mean the typical "Oh, the heroes are fighting a really threatening monster or only barely escape from an explosion". Long story short, she survives falling off a bridge on a deadly mountain pass twice (once as a child), taking a gut wound from a six foot blade, nearly crushed by a falling city block, almost slides off the deck of an airship that is nearly hit by a Godzilla Captain Planet, gas chamber execution, said gas chamber being hit by a laser cutter from a different Godzilla Captain Planet, scaling the side of a building to escape said gas chamber, jumping off a massive harbour cannon and barely catching a rope from an airship, falling in the FF equivalent of the River Styx, etc. etc.
Anyway, Tifa is Cloud's childhood friend and love interest. She runs a bar called Seventh Heaven at the start of the game, which is secretly playing host to the terrorist group AVALANCHE that is trying to destroy Mako reactors so the planet doesn't get sucked dry of all of its life juice and poisoned (it's basically an allegory for oil and climate change).
Tifa is the monk class of FFVII, and as such she carries on the proud legacy of Sabin by suplexing the shit out of things multiple times her size as part of her special move, including a different Godzilla Captain Planet.

Never forget (Sadly, no, Sabin is not a character in WoFF).
She's one of my favourites from FFVII. She grapples with a lot of shit over the course of the game, most importantly the fact that her childhood friend knows everything about a certain incident that she's positive he wasn't there for, which really messes with her head and emotions.
Speaking of her childhood friend and love interest, the two of them don't cross paths in this game as far as I remember. Square has this weird thing about keeping Tifa and Cloud apart in their crossover appearances. Tifa isn't in Dissidia and due to memory fuckery of the characters, Cloud doesn't have memories of her or his world. They barely (if at all) meet in Dissidia Duodecim where Tifa is a playable character. To my knowledge, they only meet for a few seconds in Kingdom Hearts (I could be wrong about that, but they definitely don't spend any length of time together). The only explanation for this I can think of is that someone/some people on the FF dev team want to keep fuelling the "love triangle" of FFVII, even though that's been settled for ages in various ways including the Ultimania guide (Tifa wins, Aerith fans. She has actual history and deeper emotional connections with Cloud). It really bothers me that they do this.
Anyway, enough of my gushing and complaining. Tifa is also part of a dark and evil expanded universe, but as with FFX we don't yet have all the pieces in place to start discussing it.
.png) Oh! I can celebrate later. Come on, this way! Hurry!
Oh! I can celebrate later. Come on, this way! Hurry!
Literally right behind our heroes (you can still see them in this screenshot), the mysterious woman makes another appearance.

Also Plumed Knight is there.
 Then you mean the Azure Prophecy... is coming true. So what. No matter how many Champions arise, the laws of this world are beyond their power to change.
The first sign of an idiot antagonist is them feeling safe and confident that there's nothing the heroes can do to mess things up. AMCP, people! Always Make Contingency Plans!
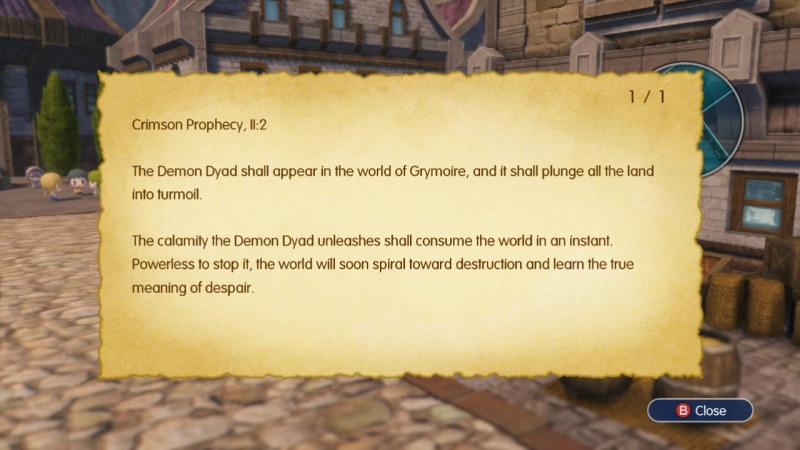
 We must fulfill the Crimson Prophecy. And swiftly. Are we agreed?
 Yes.
Yes. I'm just glad you're all right. Huge dragons live in the Scars. You're lucky you only ran into the two. Normally, people don't set foot near the place, but I heard all the ruckus and knew something must be up.It's a good thing you did. Gotta say, though, you pack quite a punch!Oh. Well... I might've gotten lucky.
...Why are the subtitles appearing in the little boxes? This isn't an overworld scene, it's a "cutscene", so the subtitles should just be normal. Weird.
Oh!Reynn is reacting to a little sparkle of light from Tifa that signifies she's awakened as a Champion.
I live to the north of here, in a town called Nibelheim. Come on by, if you get a chance!And with that, Tifa's Champion Medal becomes available for purchase.

Also the Warrior of Light's... Champion Jewel? Also Refia's? And Tifa's?


This is a new feature of the Maxima add-on. Now instead of just summoning Champions, we can actually turn Lann and Reynn into them. I'll show this off during the next Lil' Update, but I probably won't be using this during story gameplay (unless people really want me to).
 Makes you wonder what her master must be the-like!
The world may never know, because Zangan is only seen briefly in a flashback and his larger role in VII was ultimately cut. Poor Zangan. The world needs more awesome old guys that don't bite it in the end.
We finally hit the Babil Region once we leave the Dragon Scars behind and...
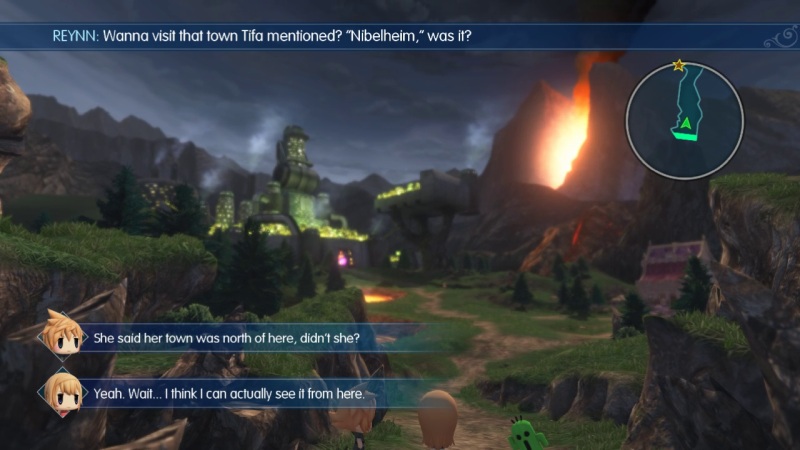
 That is not Nibelheim.Brrr! S-something about that place makes my fur the-crawl! I don't know what it is, but it gives me the heebie-the-jeebies!
Whatever, we'll sort it out once we get there. I spy a different town we can go to. Let's procrastinate!

This place seems quaint.
Well, this is a charming little town. But something feels kind of... I dunno, "off" about it. I can't quite put my finger on what it is.Hmm... I think it might be a good idea for us to keep a low profile around here.Why's that?Because... Oh, just do it!Uh, okay. Low profile, Tama.Okay. Roger the-wilco...You guys worry too much. This place seems perfectly peaceful. Everyone is just milling around and minding their own business.

There's even a guy here that has a sidequest for us. We need to go fight Cactuars for him so he can gauge their strength and decide if he should go after one to try and race them.
Even though M.C.Hammer is right there and could easily just race the guy himself. Whatever, we'll fill the quest eventually.
Okay, so that guy is kind of a weirdo for wanting to foot race a Cactuar. Everyone else doesn't seem so bad though.


......Huh.

Off to Nibelheim!

Oh, there's another Girl's Diary Entry in a treasure chest next to those three kids.
There's also another Old Journalist Notes behind the Gate. Almost have the full set.